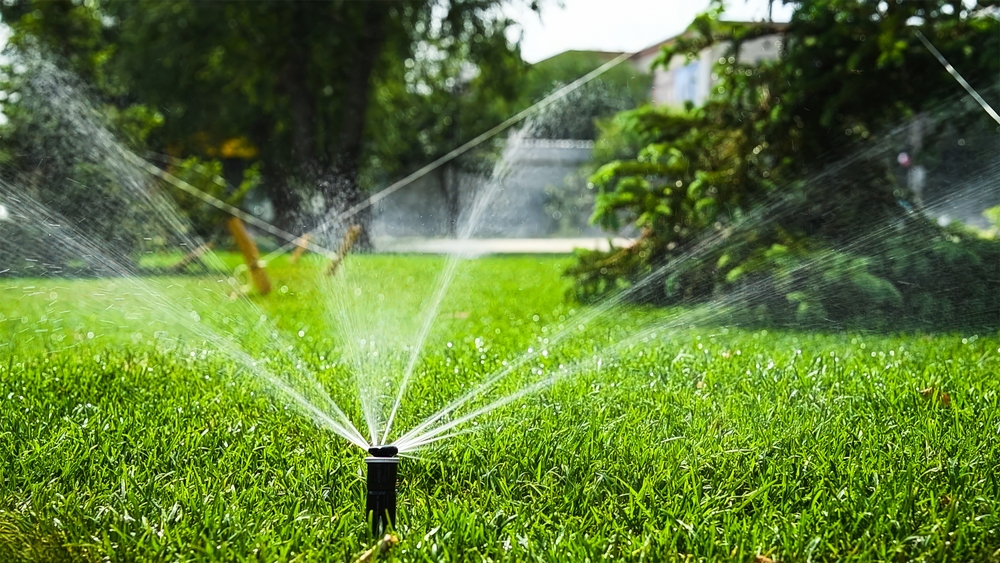
For many of us, a beautiful lawn is a point of pride. But keeping your yard healthy and lush takes more than just good intentions—it takes time, precision, and the right tools. One of the easiest and most effective ways to care for your lawn is by installing a lawn irrigation system. These systems deliver water on a timed and controlled schedule, ensuring each zone gets exactly what it needs to thrive.
In this blog, we’ll walk you through how to install a lawn irrigation system, so your yard stays green and healthy, and you can stay worry-free all season long.
11 Steps to Install a Lawn Irrigation System
Step 1: Plan Your System Layout
Before you begin, it’s important to map out your yard and plan your system layout:
- Measure the property and draw a scale diagram.
- Mark buildings, driveways, sidewalks, gardens, and existing trees.
- Note the water pressure (psi) and flow rate (GPM) from your outdoor faucet or main line. This will affect the number of sprinkler heads per zone.
- Divide your lawn into zones based on sun exposure, slope, and plant type.
- Choose the right type of sprinkler heads: fixed spray heads for small areas, and rotor heads for larger spaces.
Pro tip: Use sprinkler manufacturer planning tools or layout templates. They often come with design guides and calculators.
Step 2: Obtain Permits & Check Utilities
Any work you do should be done safely and within regulations. Contact your municipality before you begin to confirm if you need a permit. In Alberta, you generally do require a permit before installing a lawn irrigation system.
The next step is to contact your utility providers to mark underground cables, pipes, and gas lines.
Step 3: Purchase Materials
Based on the layout of your property and your irrigation system setup, you’ll need:
- Backflow preventer
- Control valves (manual or electric)
- PVC or polyethylene pipe
- Sprinkler heads
- Risers
- Fittings (T-connectors, elbows, couplings)
- Valve box
- Pipe solvent/glue
- Controller (timer)
- Wire for electric valves
Step 4: Install the Backflow Preventer
One of the most essential parts of your lawn irrigation system is the backflow preventer. This piece of equipment stops water in your irrigation system from reversing direction and contaminating your drinking water.
Your backflow preventer is typically mounted near the home’s bib or tapped from the main water line with a tee fitting. You may need a plumber or irrigation specialist if you’re tapping directly into the main line.
Step 5: Remove Sod & Dig Trenches
Before you start digging up your lawn, mark your trench lines with spray paint or string. Slice the sod and pull it up where you plan to dig so it can be put back into place. If done correctly, your lawn should show very few signs of disruption when you’re done.
Once your sod is pulled up, dig your trenches—dig between 6 and 12 inches deep, depending on your climate and frost line.
Step 6: Lay Your Pipes
Lay out the main supply and branch lines for each zone. Use T-connectors to branch off to the sprinkler heads. Install your valves at accessible points inside the valve box and use pipe clamps or primer glue to seal the connections.
Step 7: Install Sprinkler Heads
Here’s where it all comes together—at each marked location, attach a riser to the pipe and screw on a sprinkler head. Make sure each head sits flush with the soil surface once buried so it can pop up and retract properly. If you’re using adjustable heads, position them to spray directly into the intended zone for full, even coverage.
Step 8: Wire the Valves
Run low-voltage irrigation wire from the valve box to your controller. Use multi-strand wire if you’re managing multiple zones—one common wire (usually white) and one control wire per valve.
At each valve:
- Connect one wire from the solenoid to a dedicated control wire.
- Connect the other to the common wire.
- At the controller:
- Attach each control wire to its zone terminal (e.g., Zone 1, Zone 2).
- Connect the common wire to the COM terminal.
Bury the wire at least 6 inches deep or run it through conduit for added protection. Label each zone at the controller to keep things simple later on.
Step 9: Flush the System
Before installing the last of the sprinkler heads, you’ll need to flush the system. This helps to ensure the lines are clear of dirt and debris that could clog your lawn irrigation system. Turn on the water and let it run for a few minutes per zone. Shut the water off.
Step 10: Install the Controller & Test It
Mount the timer/controller in a convenient location—typically the garage, utility room, or in a weatherproof box outdoors. Program your ideal watering times and durations for each zone, then test them individually to check for leaks and misaligned heads, and ensure you’re happy with the coverage. Make any adjustments necessary.
Step 11: Backfill Trenches & Make Final Adjustments
Finally, it’s time to backfill your trenches. Carefully tamp down the soil around sprinkler heads to keep them in place, and make sure all heads pop up and retract smoothly. Adjust spray distance and direction as needed, and reap the rewards of your hard work.
Better Yet, Call in the Pros!
Installing a lawn irrigation system is complex and precise work. If you want the job done right, call in the professionals. At Naiad Irrigation, we’re specially trained and certified to install, maintain, and repair lawn irrigation systems, and will ensure you and your lawn are completely satisfied.
For top-notch service and a quality irrigation system you can count on, contact Naiad Irrigation today.
Book a service or call us today @ 587-200-3994. We provide top-notch services from Irrigation Association-certified professionals.
