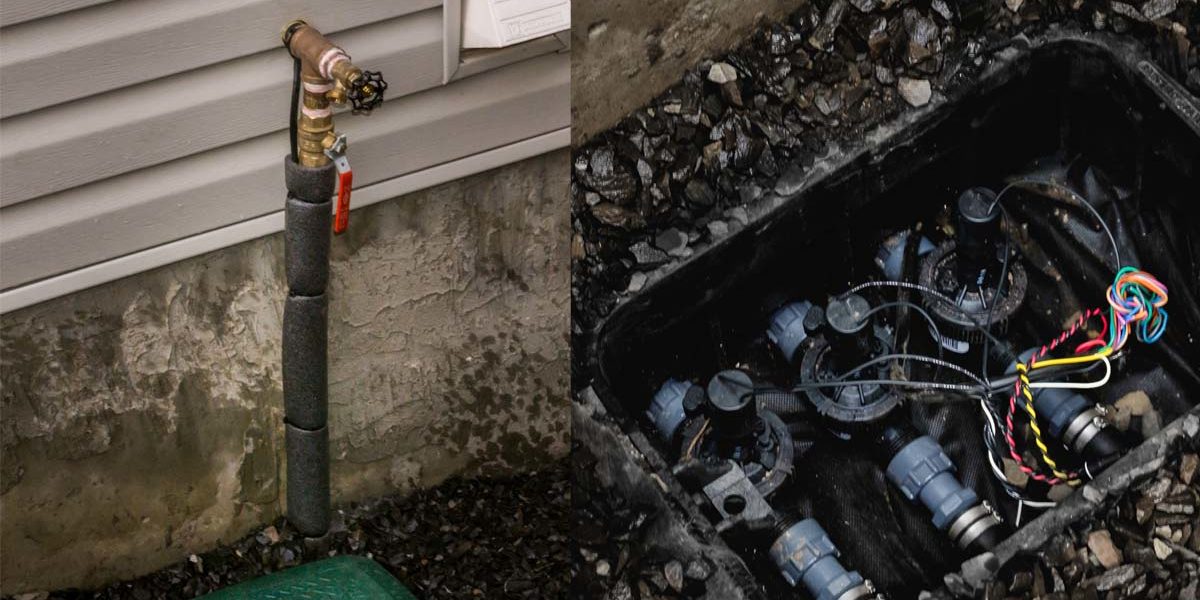
When an irrigation technician diagnoses a sprinkler system, the first thing they do is also the easiest: they check for dry patches on the lawn. That may not work if you’re reading this before or just after having your system activated, given the timing. In the early spring, we know a lawn is liable to be yellow and soggy corner-to-corner. But later into the summer, this is the best place to start. If any spot isn’t getting enough water, then a leak or blockage may be affecting pressure. That, or a nozzle may need adjustment. If a larger area is dry, then likely one or more entire zones aren’t functioning.
If you have doubts that your irrigation system is working properly, you’ve probably already noticed a dry spot. Regardless of its size, we suggest checking both the electronics and waterworks of your system to cover all your bases.
It’s important to note first that no two in-ground sprinkler systems are the same. While we’ve tried to make these instructions as broad as possible, they are based on sprinkler systems built by Naiad Irrigation Systems, which we design and install with best practices in mind. This article may not cover unique problems or unforeseen design flaws – in which case, it’s best to call us or your local irrigation professionals.
Checking the mainline
- Check that your irrigation system’s mainline shutoff valves are all the way open. There should be at least one inside your house, just after the cross connection. It may be immediately upstream or downstream of your backflow preventer. There may be a second shutoff valve outside by your valve box, too. If any mainline valves were partially closed, that was probably the cause of any pressure loss. But once you’ve started, you may as well complete your inspection just to be sure there are no other issues.
- Turn off any taps, faucets, or water-consuming appliances (such as a laundry machine, dishwasher, or humidifier) on your property. This way, you can use your water meter as an indicator while testing your system without interference from any other water use.
- Some systems may have their own isolated flow meter, in which case this step won’t be necessary.
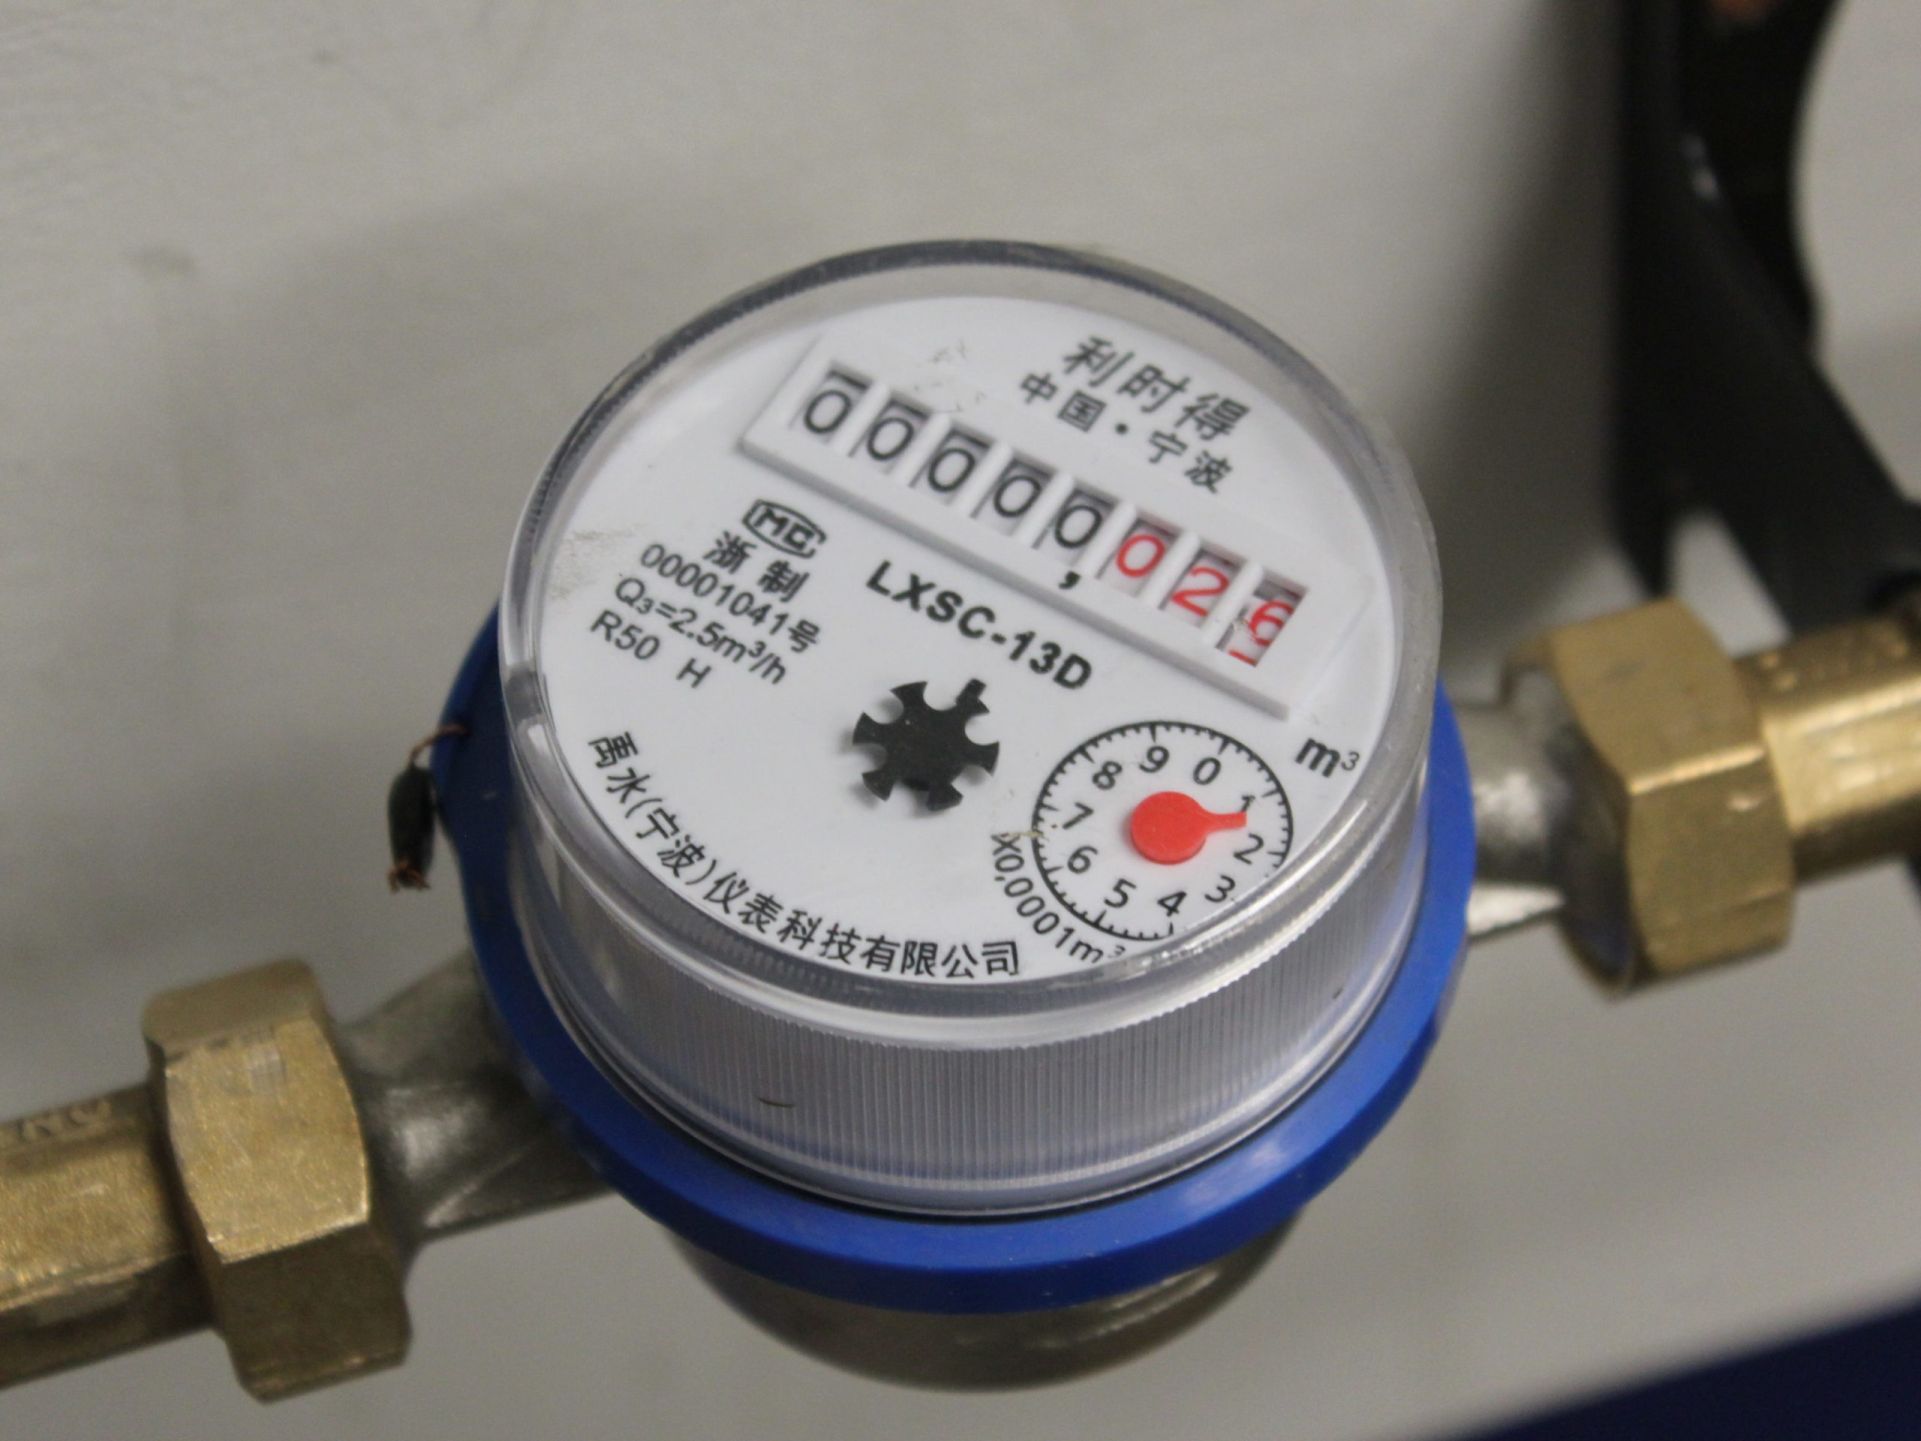
- If you are certain that everything else is off, and your water meter (or isolated flow meter) is still turning, this will tell you that either there is a leak in your sprinkler system’s mainline or a control valve is open when it shouldn’t be. Make a note of this and continue with your test, as activating each zone later on should still increase the speed at which the water meter turns.
- Although this wouldn’t necessarily stop your system from working for a season, you should double-check that the shutoff valves can close all the way as well. If water enters the mainline when it shouldn’t, you could end up with freezing damage next winter even after a fall blowout.
Testing the timer
- Open your timer irrigation timer and check that the display is on and looks normal.
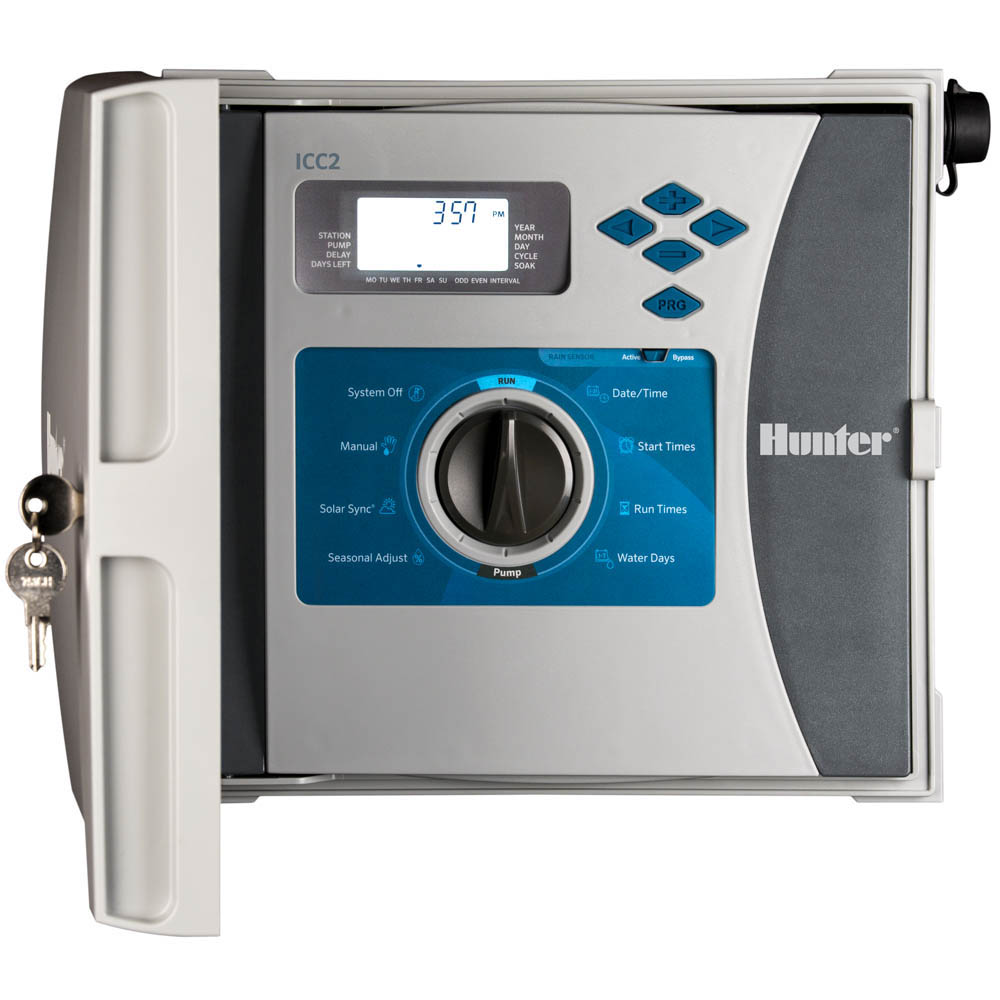
- Double-check that your desired watering schedule is still saved and active. It’s unlikely, but possible for an electrical fault or some other anomaly to affect the timer’s memory. If your watering schedule has gone missing, enter it in again and make a note to check on it later. Also replace the timer’s backup battery if it has one.
- Use your timer to turn on one zone.
- If the water meter begins or increases turning, you know there is water going to that zone.
- If not, the problem likely has something to do with that zone’s control valve. It could be the control valve itself, the solenoid that controls it, or the wires running from your timer to that solenoid.
- Repeat for all zones, one at a time, to ensure all control valves are working. If none of the control valves seem to be working, the problem is likely the timer itself.
Checking the zones
- Find your valve box outside and open it up. Also make sure your external shutoff valve is all the way open if you have one. It will be just upstream of your valve box. Be careful not to open the blowout port (which usually looks like a garden tap) instead; you will get very wet.
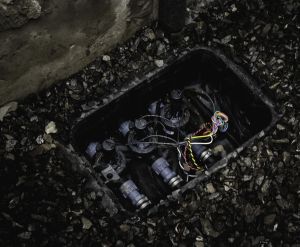
- Select a single control valve and open it manually using the bleed screw or by twisting the solenoid a quarter-turn to the “On” position.
- Let the zone run for several minutes while you walk around looking for issues.
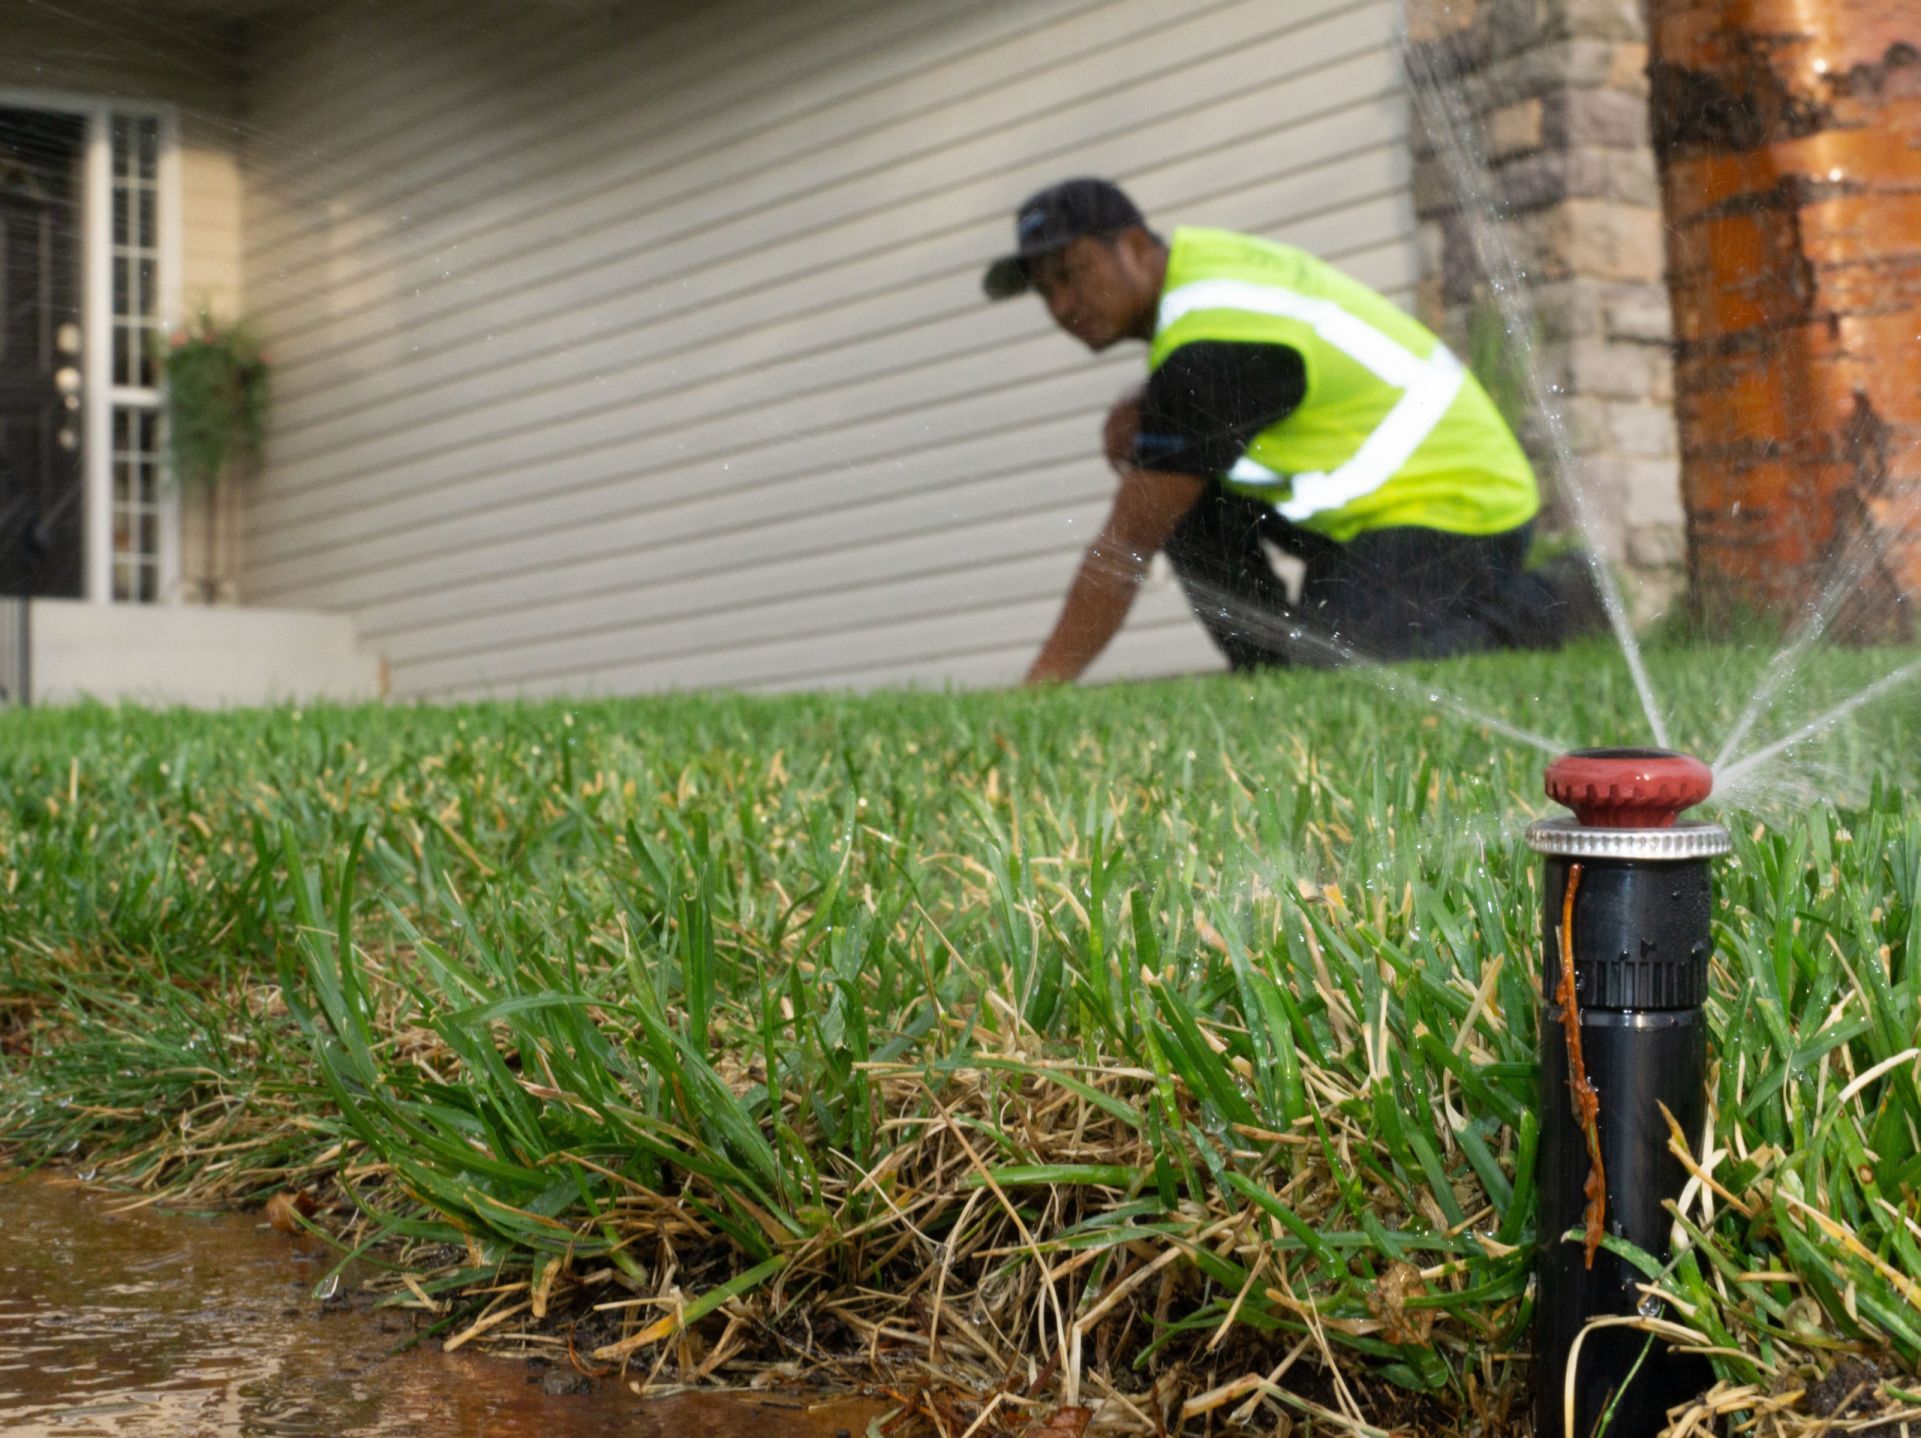
- If any heads do not fully pressurize, there may be a leak or blockage upstream of them.
- After a few minutes, if part of your lawn is too wet – squishy and waterlogged – then there is a serious leak nearby.
- If any heads rise but do not appear to spray as far as expected, they may have a blockage in their nozzle filter. This is one of the easiest issues to fix. Just get a grip on the nozzle with your fingernails, pull it up, and unthread it. Beneath it should be a conical or cylindrical plastic filter; if it’s clogged, you can rinse and clean it by hand.
- Repeat this inspection for each zone, one at a time.
Hopefully, this has helped you locate or identify your sprinkler system’s problem. If you’re confident that you can fix the issue from there, that’s fantastic! But either way, we encourage you to book a repair from us or your local irrigation experts, for the peace of mind that comes with professional service. Identifying the issue yourself can still save your technician a bit of time, which will save you some billable hours.
As with any plumbing system, it’s important to book repairs promptly. Any issue can drastically affect your sprinkler system’s performance and efficiency, and one problem can create others and compound into something much more expensive over time.
Book a service or call us today @ 587-200-3994. We provide top-notch services from Irrigation Association-certified professionals.
